The Investment Casting Process

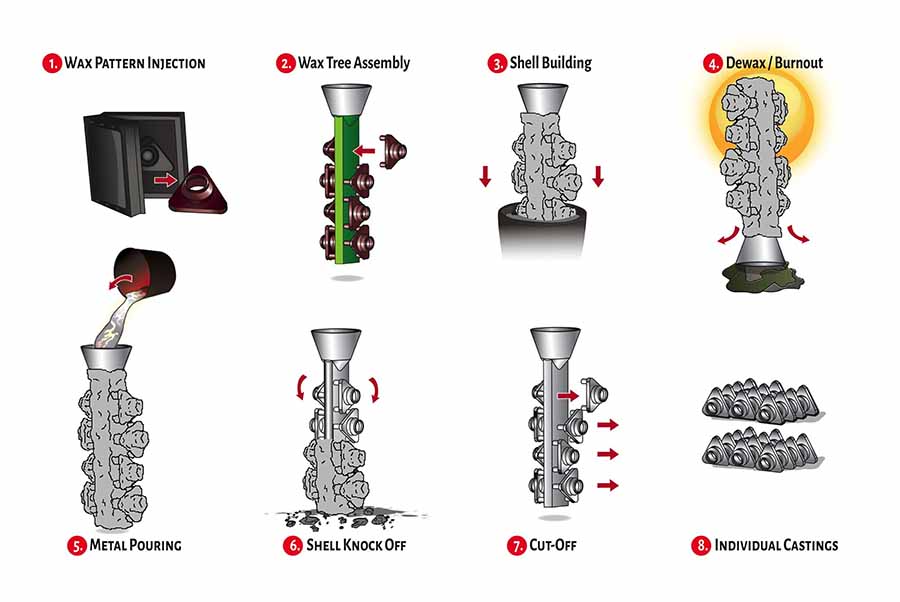
Creating a Wax Pattern
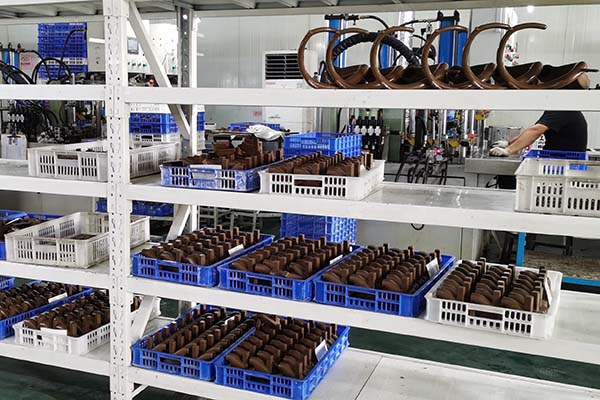
• In today’s manufacturing world, wax patterns are typically made by injecting wax into a metal tool or “die”
• With the evolution of Additive Manufacturing, patterns can be printed
• In the art community, one of a kind pieces are carved by the artist from wax blocks
• For multiple castings, a silicon tool is usually made from the artist’s sculpture and wax is injected or poured into the resulting cavity
Wax Tree Assembly
• It is typically uneconomical to make small parts one at a time, so wax patterns are typically attached to a wax “sprue”
• The sprue serves two purposes
- 1. Provides a mounting surface to assemble multiple patterns into a single mold, which will be later filled with alloy
- 2. Provides a flow path for the molten alloy into the void created by the wax pattern(s)
• The wax between the pattern(s) and the sprue are called “Gates”, because they throttle the direction and flow of the alloy into the void made by the pattern
Shell Building
• The next step in the process is to build a ceramic shell around the wax tree
• This shell will eventually become the mold that metal is poured into
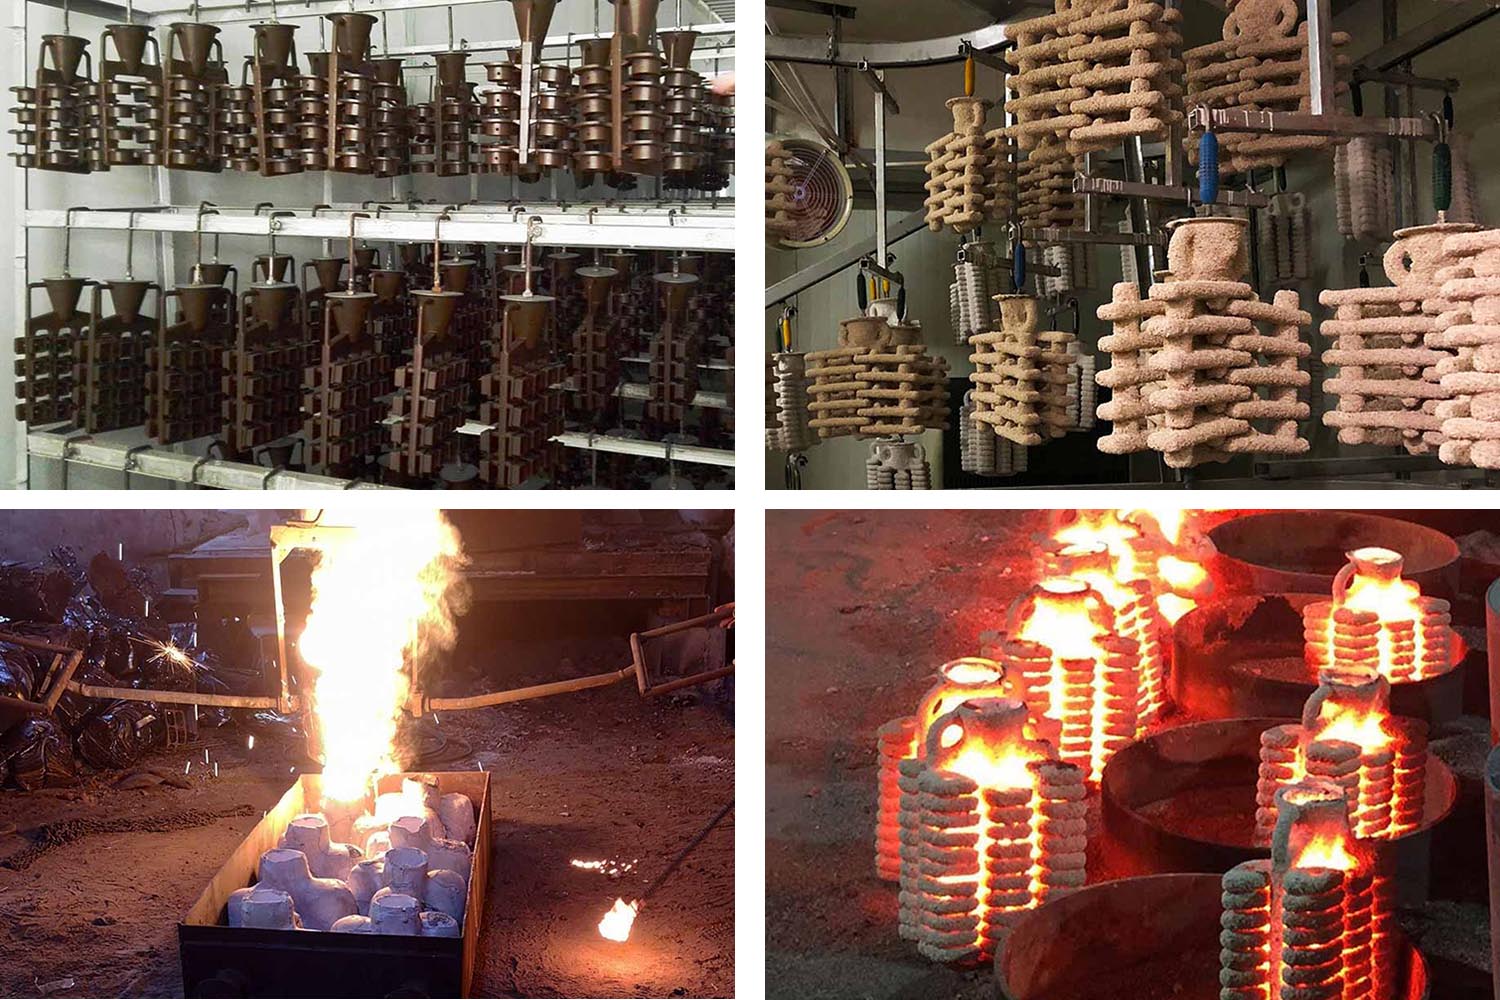
• To build the shell, the tree is dipped into a ceramic bath or “slurry”
• After dipping, fine sand or “stucco” is applied to the wet surface
• The mold is allowed to dry, and the process is repeated a number of times until a layered (or laminated) ceramic mold, capable to undergo the stresses of the casting process, has been built

Dewax / Burnout
• Before pouring metal into the mold, the wax is removed
• This is typically done using a steam-dewax autoclave, which is like a large, industrial pressure cooker
• Another method is the use of a flash fire oven, which melts and burns off the wax
• Many foundries use both methods in concert
• Autoclave removes the majority of the wax, which can be reconditioned and reused
• Flash fire burns off residual wax and cures the shell, readying it for casting
Metal Pouring
• Before the metal is poured into the ceramic mold or “shell”, the mold is preheated to a specific temperature to prevent the molten alloy from solidifying or “freezing off” before the entire mold is filled
• Alloy is melted in a ceramic cup (called a crucible) using a process known as induction melting
• A high frequency electric current creates a magnetic field around the alloy, generating electric fields inside the metal (eddy currents)
• The eddy currents heat the alloy due to the material’s electrical resistance
• When the alloy reaches its specified temperature, it is poured into the mold, and the mold is allowed to cool

Shell Knock Off
• Once cool, the shell material is removed from the metal
• This is typically done via mechanical means
• Hammer
• High Pressure Water Blast
• Vibratory Table
• Shell removal can also be accomplished chemically, using a heated caustic solution of either potassium hydroxide or sodium hydroxide, but this approach is being phased out due to environmental and health concerns
Cut Off
• Once the shell material has been removed, the parts are cut off the sprue and the gates are ground off
• Part cut off can be done manually
• Chop saw
• Torch
• Laser (limited applications)
• Parts can also be cut off using automation, that is, the mold can be secured using a fixture on a programmable cut off saw
Individual Castings
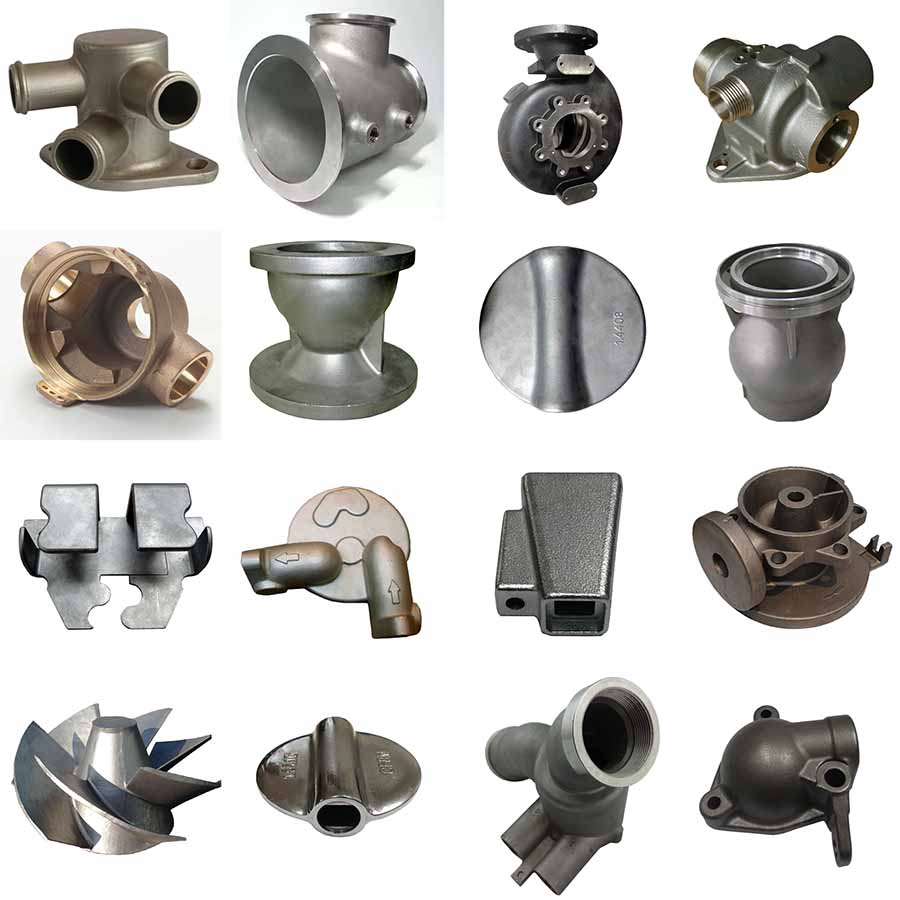
• Once the parts are removed from the sprue, and the gates removed, the surface can be finished via a number of means
• Vibratory/Media finishing
• Belting or hand grinding
• Polishing
• Finishing can be done by hand, but in many cases it is automated
• Parts are then inspected, marked (if required), packaged and shipped
• Depending on the application, the parts can be used in their “net shape” or undergo machining for precision mating surfaces

 русский


