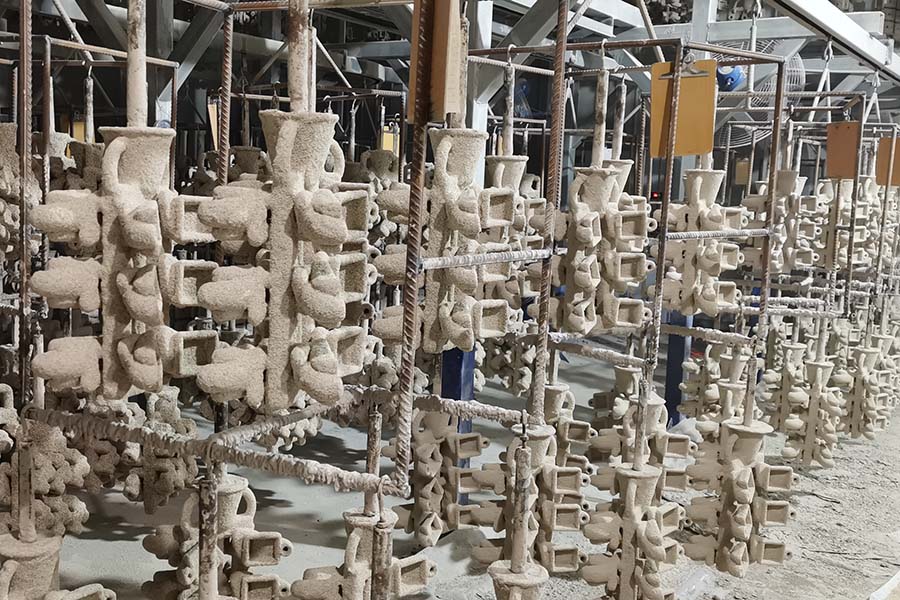
1- Select an appropriately sized steel flask. You will need an inch of clearance around your pattern and between the tip of the sprue and the top of the flask.
2- Attach the tree (the sprue, gate pattern assembly) to a piece of masonite or plywood by the pouring cup. You will need to melt the pouring cup onto the board so it sticks. A board with a rough surface (such as masonite) works best.
3- Debubble the casting. Brush on some debubbler solution. This is basically a soapy water mix that keeps air bubbles from sticking to your casting. Air bubbles on the surface of your casting turn into metal warts when the casting is formed. They can be removed after, so air bubbles are not completely disastrous, but it is better not to have them.
4- Place the cylinder around the tree, and insure that you have good clearance. Create a wax fillet on the outside of the flask between the flask and board. A nice way to do this is with a disposable 2” paint brush. Dip the brush in molten wax and brush around the base of the flask to create a fillet. This fillet will seal in the plaster so that it doesn’t seep out. If you don’t have a brush, you can cut slivers of wax and melt them around the base, then hit the fillet with a propane torch to improve the seal.

 русский


